...
- Right click Under Project Explorer and Select New->EJB Project.

- Name the project as StatefulBean. Select Next.

- Mark the fields as suggested in the screenshot and Select Next.

- Uncheck Generate Deployment Descriptor. This is beacuse we are using annotations is our applications and so deployment descriptors are redundant entity. Select Next.

- On next screen select all default values and Select finish.

This creates a skeleton for the EJB project. Next steps are adding the bean class, bean interface and setter/getter methods. - Right click on ejbModule in StatefulBean project and select New->class.

- Name the class as PersonalInfo and package as ejb.stateful. Select Finish.

- Add the following code to PersonalInfo.java.
Code Block title PersonalInfo.java borderStyle solid package ejb.stateful; public class PersonalInfo implements java.io.Serializable { private static final long serialVersionUID = 1L; private String FirstName; private String LastName; private String UserName; private String Password; private String Nationality; public void setFirstName(String FirstName) { this.FirstName=FirstName; } public void setLastName(String LastName) { this.LastName=LastName; } public void setUserName(String UserName) { this.UserName=UserName; } public void setPassword(String Password) { this.Password=Password; } public void setNationality(String Nationality) { this.Nationality=Nationality; } public String getFirstName() { return FirstName; } public String getLastName() { return LastName; } public String getUserName() { return UserName; } public String getPassword() { return Password; } public String getNationality() { return Nationality; } } - Similarly create a class BillingInfo.java and add the following code.
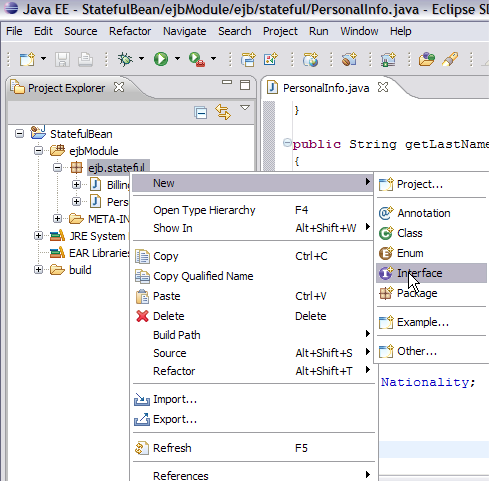
PersonalInfo.java and BillingInfo.java are classes for setting and getting the user information.Code Block title BillingInfo.java borderStyle solid package ejb.stateful; public class BillingInfo implements java.io.Serializable { private static final long serialVersionUID = 1L; private String houseNo; private String street; private String city; private String pincode; private String country; private String bank; private String cardno; public void setBank(String bank) { this.bank=bank; } public void setCardno(String cardno) { this.cardno=cardno; } public void setHouseNo(String houseNo) { this.houseNo=houseNo; } public void setStreet(String street) { this.street=street; } public void setCity(String city) { this.city=city; } public void setPincode(String pincode) { this.pincode=pincode; } public void setCountry(String country) { this.country=country; } public String getBank() { return bank; } public String getCardno() { return cardno; } public String getHouseNo() { return houseNo; } public String getStreet() { return street; } public String getCity() { return city; } public String getPincode() { return pincode; } public String getCountry() { return country; } } - Now we will add the Business interface or bean interface. Right click on the package ejb.stateful and Select New->Interface.
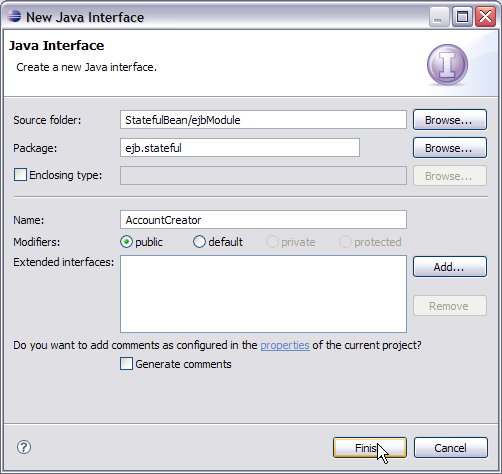
- Name the interface as AccountCreator and Select Finish.
- Add the following code to AccountCreator interface.
Code Block title AccountCreator.java borderStyle solid package ejb.stateful; import javax.ejb.Remote; @Remote public interface AccountCreator { void addPersonalInfo(PersonalInfo personalinfo); void addBillingInfo(BillingInfo billinginfo); void createAccount(); }Info title Information Once you enter this code you might see errors like @EJB can be resolved. Currently there are some limitations with the geronimo eclipse plugin which will resolved soon. We will soon suggest you how to get rid of those errors.
- Next step is to add the implementation to the interface. Right click on ejb.stateful interface and select New->class.

- Name the bean class as AccountCreatorBean and Select Finish.

- Add the following code to AccountCreatorBean.
Once you have added the code you will see lot of errors but this can be resolved easily and is shown in next step.Code Block title AccountCreatorBean.java borderStyle solid package ejb.stateful; import java.sql.Connection; import javax.annotation.PostConstruct; import javax.annotation.PreDestroy; import javax.annotation.Resource; import javax.ejb.PostActivate; import javax.ejb.PrePassivate; import javax.ejb.Remove; import javax.ejb.Stateful; import javax.sql.DataSource; @Stateful public class AccountCreatorBean implements AccountCreator{ @Resource(name="jdbc/userds") DataSource datasource; Connection connection; PersonalInfo personalinfo=new PersonalInfo(); BillingInfo billinginfo=new BillingInfo(); public AccountCreatorBean() { super(); } @PostConstruct @PostActivate public void openConnection() { try{ connection=datasource.getConnection(); } catch(Exception e) { e.printStackTrace(); } } @PreDestroy @PrePassivate public void closeConnection() { connection=null; } public void addPersonalInfo(PersonalInfo personalinfo) { this.personalinfo=personalinfo; } public void addBillingInfo(BillingInfo billinginfo) { this.billinginfo=billinginfo; } @Remove public void createAccount() { System.out.println("Your request has been successfully processed"); } } - The errors in the code is due to missing classes from our server runtime. This can be resolved as follows.
Right click on StatefulBean project and select Properties.

- On the next screen select Java Build Path->Libraries->Add External Jars.

- Browse to <GERONIMO_HOME>/repository/org/apache/geronimo/specs/geronimo-ejb_3.0_spec/1.0.1 and select geronimo-ejb_3.0_spec-1.0.1.jar. Select Open.

- Similarly browse to <GERONIMO_HOME>/repository/org/apache/geronimo/specs/geronimo-annotation_1.0_spec/1.1.1 and add geronimo-annotation_1.0_spec-1.1.1.jar.

- Once done you can see both the jars enlisted. Select Ok.

- Let us walkthrough the EJB bean class code
- @Stateful public class AccountCreatorBean implements AccountCreator- @ Stateful annotation declares the Bean class as Stateful class.
- @Resource(name="jdbc/userds") DataSource datasource;- This is a resource injection into the bean class wherin a datasource is injected using the @Resource annotation. We will shortly see how to create a datasource in geronimo.
- public AccountCreatorBean(} -This is a constructor for the bean class and it will be used to create a bean instance whenever a request is received from new client connection.
- @PostConstruct @PostActivate public void openConnection()- @PostConstruct and @PostActivate are annotations which are basically called lifecycle callback annotation. The lifecycle for these annotation is as follows
- New bean instance is created using the default constructor.
- Resources are injected
- Now the PostConstruct method is called which in our case is to open a database connection.
- PostActivate is called on the bean instances which have been passivated and required to be reactivated. It goes on the same cycle as being followed by PostConstruct.
- @PreDestroy @PrePassivate public void closeConnection()- Again @PreDestroy and @PrePassivate are Lifecycle callback annotation. The lifecycle of these annotation is as follows
- Bean instances in the pool are used and business methods are invoked.
- Once the client is idle for a period of time container passivates the bean instance. The closeConnection function is called just before container passivates the bean.
- If the client does not invoke a passivated bean for a period of time it is destroyed.
- public void addPersonalInfo(PersonalInfo personalinfo) and public void addBillingInfo(BillingInfo billinginfo)- These two functions are invoked to store client data across various calls.
- @Remove public void createAccount()- There are two ways in which a bean is destroyed and hence this where a client session ends in stateful bean. One is when a bean has been passivated and is not reinvoked by client hence the bean instance is destroyed. Another way is to use @Remove annotation. Once the client confirms and submits all the required information the data is populated into the database and that is where the session ends.