This project has retired. For details please refer to its
Attic page.
The following sub-sections describe the steps involved in creating a cartridge base image on the GCE IaaS:
- Step 1 - Spawn an instance
- Step 2 - Configure the cartridge base image
- Step 3 - Create a snapshot of the instance
Step 1 - Spawn an instance
- Navigate to the Google Developers Console.
- Launch an instance with your preferred OS and other related settings as follows:
- On the Compute menu, click Compute Engine and then click VM instances.
- Click Create instance.
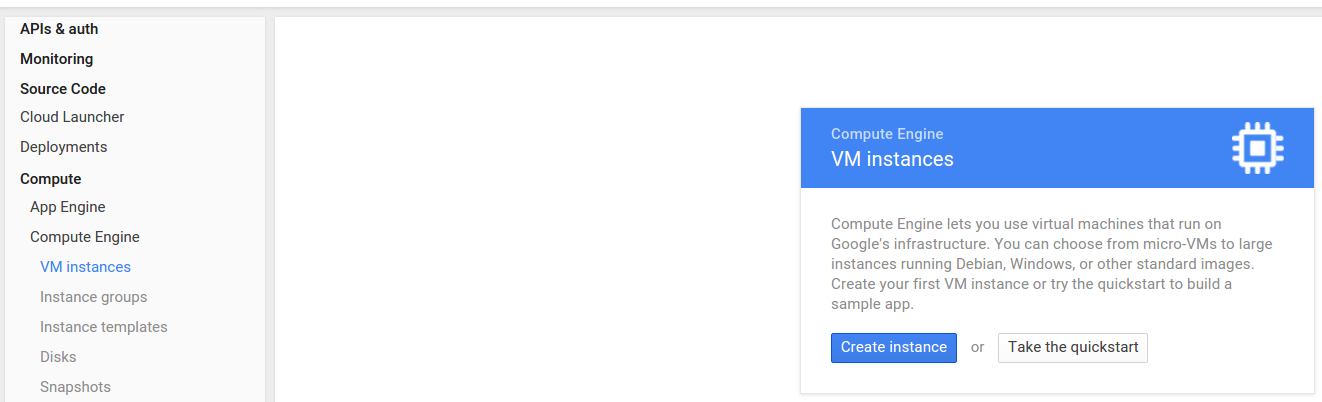
The create a new instance interface appears.

- After entering the required instance details, click Save to create the instance.
SSH to the spawned instance and make relevant changes to the base image (e.g., If you need a PHP cartridge, install PHP related libraries).
- On the Compute menu, click Compute Engine and then click VM Instances.
- Click the more option in the Connect column.
- Click Open in browser window.

Step 2 - Configure the cartridge base image
Follow the steps given below to configure a base Image:
Start up a virtual machine (VM) instance using a preferred OS, on a preferred IaaS.
Install the Puppet agent.
Open the
puppetfile, which is in the<PUPPET_AGENT>/etc/defaultdirectory and configure it as follows:START=yes
Add the following to the
puppet.conffile, which is in the<PUPPET_AGENT>/etc/puppetdirectory:[main] server=puppet.stratos.org
Stop the puppet instance or instances that are running.
cd /etc/init.d/puppet
stop
Copy the
init.shscript into the<PUPPET_AGENT>/root/bindirectory.Update the
/etc/rc.localfile./root/bin/init.sh > /tmp/puppet_log exit 0
Execute the following commands:
rm -rf /var/lib/puppet/ssl/*
rm -rf /tmp/*
Step 3 - Create a snapshot of the instance
Set the auto-delete state of the root persistent disk to
falseas follows:
This is done to avoid the persistent disk from being automatically deleted when you terminate the instance.- On the Compute menu, click Compute Engine and then click VM Instances.
Click on the name of the instance.
Edit the settings related to the instance.
Uncheck the Delete boot disk when instance is deleted option. This is done to ensure that all the data is not deleted when you terminate the instance.

Click Save.
If you wish to view details on the disk related to the instance, click Compute Engine and then click Disks.
Delete the instance.
Initially, you need to terminate the spawned instance using the root persistent disk to be able to create an image. When you are terminating the instance make sure that the persistent disk is not attached to any other virtual machines.- On the Compute menu, click Compute Engine and then click VM Instances.
- Check the instance that you need to delete.
- Click Delete to delete the instance.

Create a new image as follows:
- On the Compute menu, click Compute Engine and then click Images.
- Click Create Image.
- Provide the Source type as
Diskand select the relevant disk name from the dropdown menu. You need to do this to create the image based on the persistent disk. - Click Create.

The newly created image is immediately available under the Images section.

Overview
Content Tools
Apps